Nail art accessories | Tired of your same-old, basic nails? Then it’s time to spice up your manicure with some fun nail art accessories! From rhinestones and studs to glitter and gems, we have everything you need to take your nails from lackluster to dazzling in no time. Get ready for compliments coming at you from all directions! With our nail art accessories, you’ll be the envy of everyone. So let’s get creative and start accessorizing your nails today!
What are nail art accessories?
Nail art accessories are materials and tools used to decorate your nails to make them look more beautiful. Accessories include a wide variety of items, such as rhinestones, glitter, studs, gems, beads, decals and stickers. With the right nail art accessories, you can create a unique look that expresses your personal style.
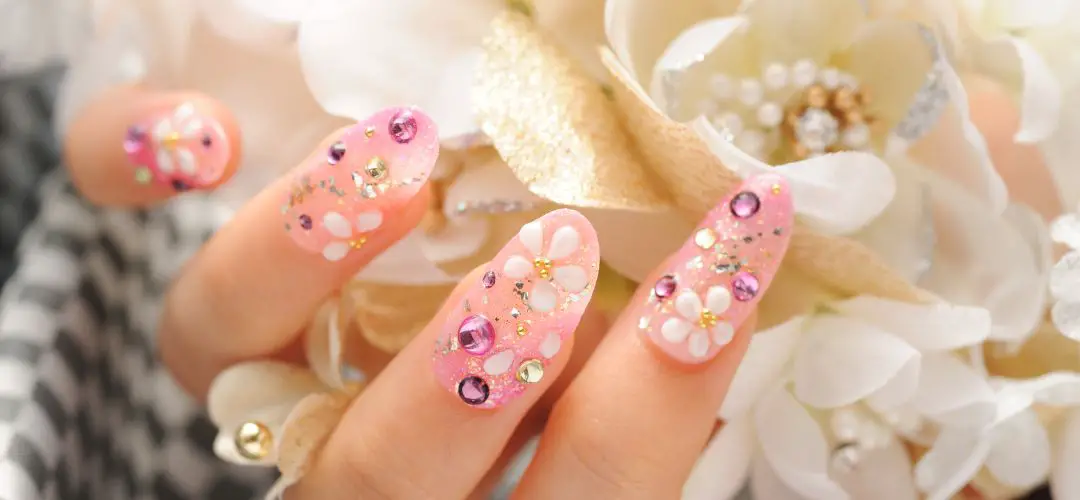
Rhinestones are one of the most popular nail art accessories. They come in various sizes and colors and can be used to create a range of designs. You can make geometric shapes, rainbows or even words. Rhinestones give your nails an extra sparkle and shine that’s sure to turn heads.
What to use to do designs on nails?
When it comes to creating beautiful nail art designs, there are many different tools and techniques you can use. If you’re a beginner, it’s best to start with nail polish, brushes and stickers. With these, you can create an infinite amount of looks!
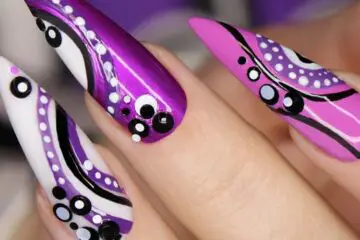
Nail polish is the foundation for most designs. You can use it to create simple and minimal designs, or you can go bold with bright colors, glitter and metallics. The possibilities are endless! If you’re feeling adventurous, use a thin brush to make intricate designs like polka dots, stripes or flowers.
Stickers are a great way to add texture and dimension to your nails. Choose from a variety of prints such as stars, hearts and animals. You can even find 3-D stickers that stand out for an extra special look!
Gems, studs and rhinestones add extra shine to your manicure. They come in all sorts of shapes and sizes so you can create custom designs with them. You can add them to the tops or sides of your nails for a little extra sparkle.
Marbling and water marbling are techniques you can use to achieve an ombre look. Use nail polish and water to blend colors together and create unique designs. This technique is more advanced, so it’s best to practice on a piece of paper first before trying it on your nails.
Nail art accessories are a great way to get creative and make your manicure stand out from the crowd. Whether you’re a beginner or a pro, these tools and techniques will help you create stunning designs that express your personal style.
How do you do nail art for beginners?
Nail art for beginners does not have to be complicated or overwhelming. There are several simple techniques that you can use to create beautiful and unique designs that look like they were done by a professional.
The first step is to choose the colors for your nail art design. You can choose from classic shades such as red, pink and nude, or mix it up with bold and bright shades like blue, green and yellow. When selecting colors for your design, keep in mind that the lighter shades will be easier to work with and may require fewer coats of polish.
Once you have chosen your colors, you can start painting your nails. Apply two coats of base color to each nail, making sure to let each coat dry before applying the next. To finish off your design, you can use glitter, rhinestones or other nail art decorations.
A simple polka dot design is one of the easiest nail art looks for beginners to try. Dip a toothpick into any color of nail polish and make small dots on each nail. You can also use a thin brush if you have one, and practice making different shapes such as stars, hearts or flowers.
Another great look for beginners is gradient nails. Start by painting your nails with your base color and then use a makeup sponge to dab on the second shade of polish. Blot off any excess polish on a piece of paper and then press the sponge onto each nail. Repeat until you have achieved the desired gradient effect.
Stripes are another easy design to try, especially if you are using two colors that contrast with each other. Start by painting your nails with one color, letting it dry completely before proceeding. Use a striping brush or a thin brush to paint the second color in a row of stripes.
Are nail art accessories difficult to use?
Nail art accessories can seem intimidating to use at first, but with a little practice, you will be able to create stunning designs in no time. While some nail art supplies are more difficult than others, most of them are not too difficult to master.
How do I clean my nail art accessories?
Cleaning your nail art accessories is an important part of caring for them and ensuring they last a long time. The first step in cleaning your nail art accessories is to make sure they are free of any nail polish. Use a cotton pad and remover to wipe away any leftover nail polish from the tools, then rinse the pads with warm water for extra cleaning power.
Once all the nail polish has been removed, use a brush or cloth to scrub the accessories with soap and warm water. Make sure to get into all the nooks and crannies of the tools to make sure they are properly sanitized. After scrubbing, rinse the accessories with warm water and then pat them dry with a clean cloth or paper towel.
If your nail art accessories have metal parts, you can also use a nail brush to scrub off any dirt or grime that has accumulated. Dip the brush in warm, soapy water and then scrub the metal components gently until they are clean. Once you are finished, rinse with warm water and pat dry with a cloth or paper towel.
How do I store my nail art accessories?
Storing your nail art accessories properly is a key part of taking care of them and ensuring they last. Properly storing these tools will help keep them clean, dry and free from dust or dirt.
To keep your nail art accessories in good condition, store them in an airtight container when not in use. A plastic or metal box with a secure lid is ideal for storing small tools such as cuticle pushers and tweezers, while larger items like clippers may need to be stored separately. If you have multiple nail art accessory kits, make sure to label each container with a name or label so you know which kit is which.
Conclusion | Nail art accessories
This article provides information on the basics of nail art supplies, including how to use them, how to clean them, and how to store them. By following these steps, beginners can create stunning designs with ease. Cleaning and storing nail art accessories properly is essential for keeping them in good condition.
