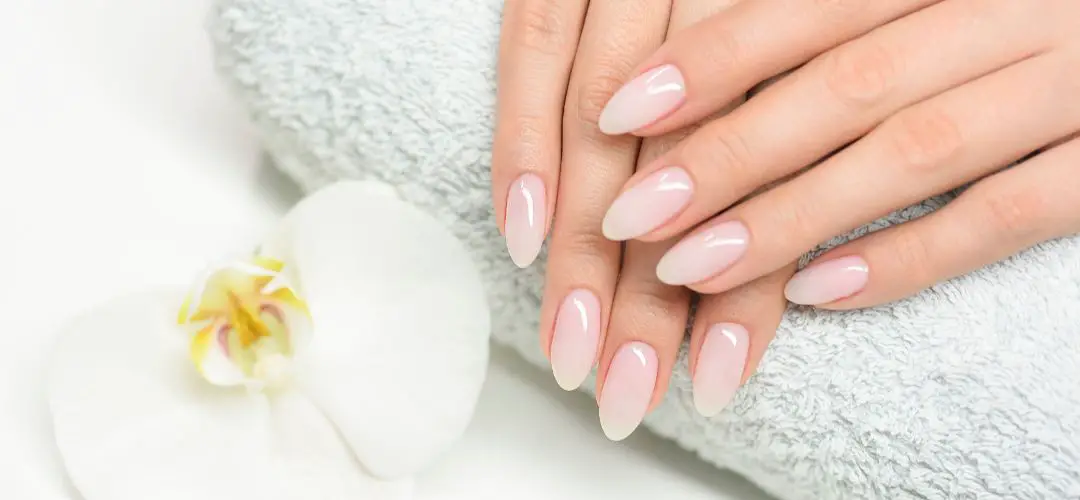
Can you use a nail drill to shape nails? | Are you a DIY nail enthusiast who’s looking for ways to keep your nails in tip-top shape? Do you want to get creative with the perfect manicure, but don’t know how? Never fear! With a nail drill, you can now give yourself professional quality nails without ever needing to leave the house. Read on for more information about using a nail drill to shape those perfect nails of yours!
So you’ve decided to take your mani game up a notch — congrats! Now it’s time to find out if you can use your trusty nail drill to do the job. The answer is yes… and no. Although some models are designed specifically for shaping nails, not all drills are created equal and you should do your research before investing in one. Keep reading for more information on how to choose the right drill for you!
Now that we’ve established that nail drills can be used to shape nails, let’s discuss the process of doing so. Start by gathering all the necessary tools — a nail file, clippers and a drill with a sanding bit attachment. Begin by prepping your nails using the file and clippers. Then switch out the attachments on your drill, selecting the sanding bit. Turn it on and slowly move it across your nails in circular motions until they are shaped into perfection! Adding a top coat will help keep their new shape in place.

Which nail drill bit is used for shaping?
When it comes to finding the right nail drill bit for shaping, there are a few things you need to consider. First of all, what kind of nails do you have? Different types of nails require different kinds of bits, so make sure you know which type you’re dealing with before investing in any equipment. Secondly, what kind of shape do you want your nails to be in? Do you want them rounded or squared off edges? Depending on the shape and type of nails, there is usually a corresponding nail drill bit that can assist in achieving the desired look.
For short, square-shaped acrylics or gels, a diamond-coated multi-purpose bit is recommended because it can easily grind away any excess acrylics or gels to get the desired shape. For artificial nails, a carbide bit is ideal as it is designed to easily remove and shape material. For longer and more delicate fingernails, an e-file bit with a fine grit finish can be used for shaping. This type of bit has small abrasive particles which results in smoother edges than other types of bits, making it perfect for creating intricate details and shapes on your nails.
For those who prefer their nails to have a rounded edge, there are several options available such as cone-shaped diamond bits or ball-shaped diamond bits. Both of these are designed to provide smooth contours that won’t damage the nail bed or the surrounding skin. The cone-shaped bit provides more control and is better suited for detailed work, while the ball-shaped bit is perfect for creating a more natural looking finish on your nails.
Is it possible to shape acrylic nails with a nail drill?
Yes, it is possible to shape acrylic nails with a nail drill! When working with acrylic nails, the most important thing to remember is that you should never use a standard bit or any type of metal-cutting bit. Instead, opt for a carbide bit or an e-file bit with a fine grit finish as these are designed specifically for removing and shaping artificial materials such as acrylic.
When should I buff my nails?
Buffing your nails is an important part of maintaining healthy and good looking nails. While some people may opt for buffing their nails regularly, others may only do this occasionally – either way, it’s important to know when the best time is to buff your nails. Generally speaking, there are a few situations in which buffing should be done:
First off, before applying any type of polish or top coat on your nails, you should use a nail buffer to remove any ridges or bumps that may have formed from previous layers. This will not only help create a smoother surface but also allow the new layer of polish to adhere better and last longer. After painting your nails with polish, using a buffer can also help remove any excess and create a nice shine.
In addition to before and after painting your nails, another ideal time for buffing is when there are any visible signs of nail damage such as splitting or peeling. By using a buffer, you can gently remove these damaged areas and also help prevent any further breakage from occurring. For best results, always use gentle motions when buffing your nails as well as an adequate amount of pressure – too much pressure may cause the ridges that you’re trying to smooth away to become overly pronounced.
Finally, regular maintenance buffing should be done every few weeks in order to keep the natural nails looking healthy and strong. When doing this type of buffing, use a separate buffer than what you use for polishing your nails, as the regular maintenance buffer is typically less abrasive and meant to be used more frequently.
Following these tips and buffing your nails at the right times will help ensure that your natural nails remain healthy and looking their best!
With the right knowledge and technique, you can maintain beautiful, well-shaped nails with a nail drill! Whether you’re working with natural or artificial materials, it’s important to remember to always practice safe filing techniques when using a nail drill in order to keep your nails strong and healthy. With the proper precautions and methods, you can easily create stunning results without any damage.
Conclusion | Can you use a nail drill to shape nails?
This article gives tips on how to properly use a nail drill for shaping nails. It suggests using the buffer before and after polishing your nails,
Additionally, it recommends regular maintenance buffing every few weeks to keep the nails healthy and strong. Lastly, gentle motions and adequate pressure should be used when buffing for best results.


