How do you shape coffin nails with a drill? Do you want to be a master of the craft, able to transform those straight, boring nails into any shape that your heart desires? Then look no further! We’ll show you how to turn your drill into an “Nail Artist” and create fantastic works of art with coffin nails – all from the comfort of your own home. So grab your drill, some nails, and let’s get started! You’ll be a Nail Artist in no time.
First off, gather all of your materials: a hand drill (or rotary tool), an emery board or nail file, your favorite nail color, and top coat. Next, start by prepping each nail with your emery board or nail file. Be sure to get them all even before moving on.
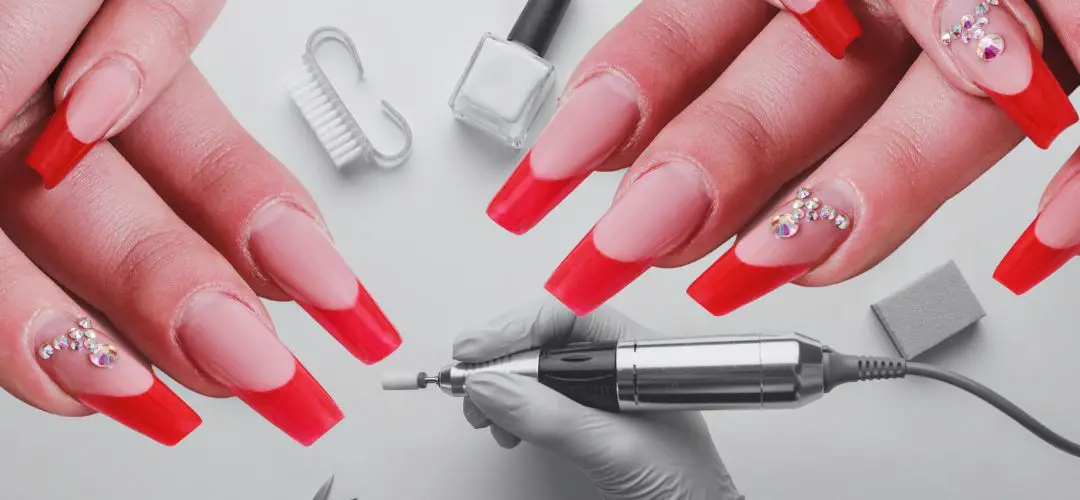
Now it’s time for the fun part — shaping your nails with the drill! To begin, hold the tool perpendicular to the nail, and gently press it against the nail while running it slowly. This will help to make your curves even. Once you have the shape you want, take your emery board or nail file and lightly buff away any excess drill residue.
Finally, apply one coat of your favorite color polish before finishing off with a top coat. Voila! You’ve just shaped coffin nails with a drill — like a ballerina pro! With some practice and patience, you’ll be able to create salon-worthy nails in no time.
How do you shape coffin nails naturally?
If you’re looking for an even more natural way to shape your coffin nails, then look no further. All it takes is some patience and the right tools — a good pair of scissors and nail clippers. Start by trimming each nail with the clippers until they are all even in length. Then, take your scissors and slowly slice off small sections of the tips until you get the desired shape.
Once that’s done, use an emery board or nail file to smooth down any rough edges and refine your shape even further. Finally, grab your favorite color polish and top coat to give those beautiful coffin nails some extra flair! With these easy steps, you’ll be able to create professional-looking nails from home.
How to do coffin nails with forms?
If you’re looking for an even more precise way to shape your coffin nails, then using forms is the way to go. All it takes is a good set of nail forms and some patience. Start by fitting each form over your nails until they are all snugly in place. Then, use a nail file or emery board to get rid of any excess material from the edges — this will help ensure that your shape comes out just right.
How do you round coffin nails?
To round off those coffin nails, all you need is a nail file and some patience. Start by lightly filing the edges of each nail to get rid of any sharp corners and create an overall smooth shape. Then, use the side of your file to create small curves that go from left to right — this will help give your nails a rounded shape.
How long do nails have to be for coffin shape?
Nails need to be long enough to create the distinct shape of a coffin — generally, they should be at least 1/4 inch past the fingertip. Additionally, if you’re looking for an even pointier tip, then you’ll want to add more length. With that being said, everyone’s nails are different so it’s important to customize your own measurements accordingly.
Is coffin a strong nail shape?
Yes, coffin nails are a very strong shape. Not only do they provide extra length to protect the fingertips from any accidental bitting or picking, but their tapered shape also helps create an overall stronger nail. With some practice and patience, you’ll be able to get your nails in top-notch condition!
Shape fake nails for a coffin?
If you’re looking for a way to shape fake nails, then you can use the same process as when shaping regular nails — just with a few extra steps. Start by trimming the tips of each nail until they are all even in length and then lightly file down any rough edges with an emery board or nail file. Next, use a pair of scissors to create your desired coffin shape before buffing them down with the emery board one last time.
What’s the difference between coffin and ballerina nails?
The main difference between coffin and ballerina nails is the shape. Coffin nails have a tapered tip, while ballerina nails come to a point at the top. Additionally, coffin nails are usually longer than ballerina nails — they should be at least 1/4 inch past the fingertip in order to achieve the distinct look. Ultimately, which shape you choose depends on your personal preference and desired style!
Is it easy to apply nail polish on coffin shaped nails?
Absolutely! Applying nail polish on coffin-shaped nails can be just as easy as applying it onto regular-shaped ones — all you need is patience and enough practice. First, make sure that each of your nails are clean before painting them with your favorite polish. Then, use a brush or a dotting tool to apply the color — start from the cuticles and work your way up to the tip of each nail for an even finish. Lastly, seal it in with a clear top coat for that long-lasting shine! With these tips, you’ll be able to easily paint those coffin-shaped nails and show them off with pride!
Are coffin nails good for chubby fingers?
Yes, coffin nails look great on chubby fingers. The long, tapered shape helps create an elongated appearance that can make your hands appear slimmer and more elegant. Additionally, you can add a few extra details such as gems or rhinestones to further enhance the overall style of your nails.
Conclusion | How do you shape coffin nails with a drill?
This article provides step-by-step instructions on how to shape coffin nails, both with a drill and with forms. Additionally, it teaches readers how to round their nails and what length they need to be for a coffin shape. Finally, it explains why coffin nails are so strong and also provides information on shaping fake nails. With these easy steps, anyone can create beautiful nail designs from home!