It’s not as scary as it sounds and can be a great way to express your creativity and give yourself an at-home manicure. In this article, we’ll be exploring the basics of using a nail drill for carving nails and providing tips for getting started. Ready to get creative with your nails? Let’s go!
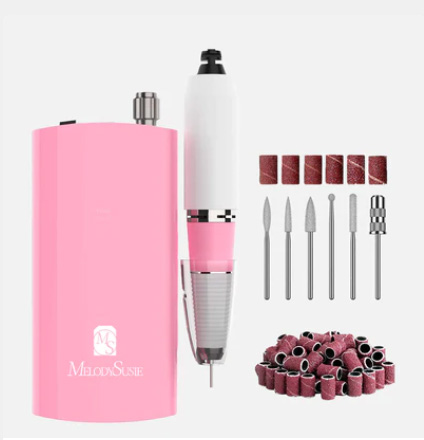
First things first, you’ll need to pick up a few supplies. A nail drill, some sandpaper bits, and different size diamond burs will all come in handy. You’ll also want to have a variety of nail files and some cuticle oil on hand when you’re ready to get started.
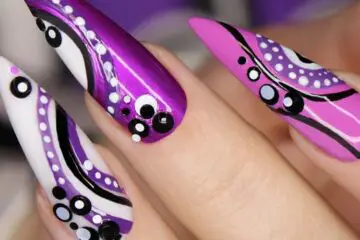
Once you’ve got your supplies, the first step is to select the design you’d like to carve into your nails. You can find plenty of nail art pictures online to give you some inspiration, or even draw your own design onto a piece of paper before you start.
Once you’ve chosen the design and have all of your supplies ready, it’s time to get started with your nail drill. Begin by slowly and carefully drilling in the outlines of the design onto your nails. It’s important to keep a steady hand and take your time while doing this—you don’t want to damage the nail bed or your design!
Next, you’ll need to start filling in the details of the design with small holes. This step requires some patience as it can be difficult to judge how much pressure to use for each hole. With practice, you’ll be able to carve more intricate designs with ease.
Finally, you can use the diamond burs to refine your design and smooth out any bumps or ridges. Make sure to buff the nails after using the drill or burs as this will help prevent splintering.
Are nail drills hard to use?
No, nail drills are not difficult to use. With practice and patience, anyone can master the art of carving nails with a nail drill!
Like any tool, it’s important to familiarize yourself with the different types of bits and how to change them out. You’ll also want to understand the various speeds available on your particular model so you don’t damage the nail bed or your design.
When it comes to actually using your drill, it’s best to start with light pressure as you outline the design and then gradually increase the pressure as needed for detail. It’s also important to move slowly and carefully so that you don’t accidentally cause any damage.
Nail drills are also great for filing down thick nails or for buffing away ridges and bumps. To keep the nails healthy, make sure to use a buffer after every drill session.
Once you get the hang of it, carving designs with a nail drill can be surprisingly easy! Just remember that practice makes perfect and take your time to ensure that each design looks its best. The key is to find an ideal balance between pressure and speed that works for you.
There are also a variety of creative techniques one can use when carving with a nail drill, such as using stencils or creating gradients with different burs. With some experimentation, the possibilities are practically endless!
What are the disadvantages of sculpting nails?
The main disadvantage of sculpting nails with a nail drill is that there is always the potential for damage to the nail bed or surrounding skin. If used incorrectly, it can cause splintering and breakage of delicate cuticles. Additionally, if the tip of the bit touches skin while in use, it can lead to painful blisters or burns. Therefore, it is essential to always operate the drill with caution and keep a steady hand.
Another disadvantage of this technique is that, due to its complexity, it can take longer than other methods such as painting or polishing. You also need to be experienced in controlling the drill and as well as have a good eye for symmetry and design if you want your work to look truly professional.
The greatest con of carving with a nail drill is its expense; not only will you need to purchase the drill itself, but also replacement bits, burs and cleaning supplies. However, this cost can be offset if you use quality materials and take proper care of your equipment.
Finally, since there are many variables involved in sculpting nails with a nail drill, it’s important to remember that the process is not always predictable. As such, you should be prepared to make adjustments as needed.
If you take into consideration all of these potential drawbacks and prepare accordingly, there’s no reason why sculpting with a nail drill can’t result in professional-looking nails. With patience and practice, you can achieve beautiful results.
What safety measures should be taken while carving nails?
Sculpting nails with a nail drill requires taking certain safety precautions to ensure that the process goes smoothly and does not damage your skin or nails. Here are some tips for safely using this tool:
First and foremost, always wear protective gear such as safety glasses while operating the drill to protect your eyes from any dust or debris that may fly up.
Second, make sure you use a quality drill bit for the job; it should be sharp enough to allow for precise cuts but dull enough to avoid damaging your nails. It’s also important to regularly clean your drill bits to prevent them from becoming dull.
Third, never force the drill bit into your nails; it should always move easily with minimal effort. Additionally, when using a nail drill, make sure that the speed and pressure settings are appropriate for the job; too much pressure or an excessive speed setting can cause damage to your nails.
Fourth, when carving your nails, make sure to keep the drill moving in the same direction and do not press it too hard. Apply just enough pressure for you to feel a slight resistance; if the pressure is too much, it can cause cracking or splitting of your nail.
Finally, always keep your work area free of debris and when finished cleaning up any dust created by the drill. Nail drills can get very hot, so make sure to allow the tool to cool down before storing it away.
Following these safety tips will help ensure that your nail carving is both precise and safe. With patience and practice, you’ll be able to create beautiful nails in no time!
What kind of nail drill do I need?
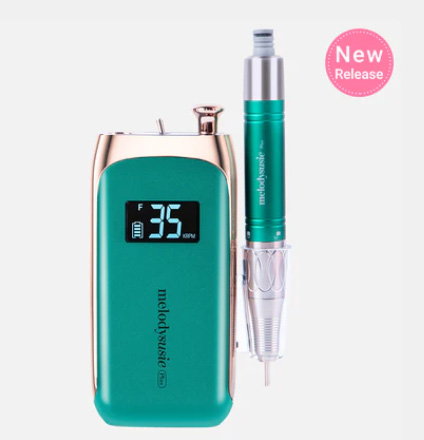
No matter what kind of nail art you’re creating, having the right drill is essential for success. There are two types of drills available – rotary and reciprocating.
Rotary drills use a spinning motion to cut or engrave into your nails, while reciprocating operates with a back-and-forth motion fine detail work. For most nail art projects, a rotary drill is sufficient. You’ll want to select one with adjustable speed and torque settings so that you can adjust it depending on the material you’re working with. The size of your drill will also make a difference; smaller sizes are better for detail work while larger models are better suited for carving larger designs into longer nails.
When selecting a drill, it’s also important to choose one with the right accessories. You’ll want to look for a carbide or diamond burr bit attachment as that will allow you to easily shape and carve your nails. Additionally, consider investing in a dust collector attachment so you can keep your work area clean while you’re carving.
Finally, read reviews to ensure that your selected drill is up to the task. Make sure that it’s durable, reliable, and capable of producing the results you’re looking for. With a little research and shopping around, you can find the perfect drill for your nail art projects!
Once you have your drill ready to go, practice on scrap pieces of material first before trying out any techniques on your nails
Are sculpted nails better?
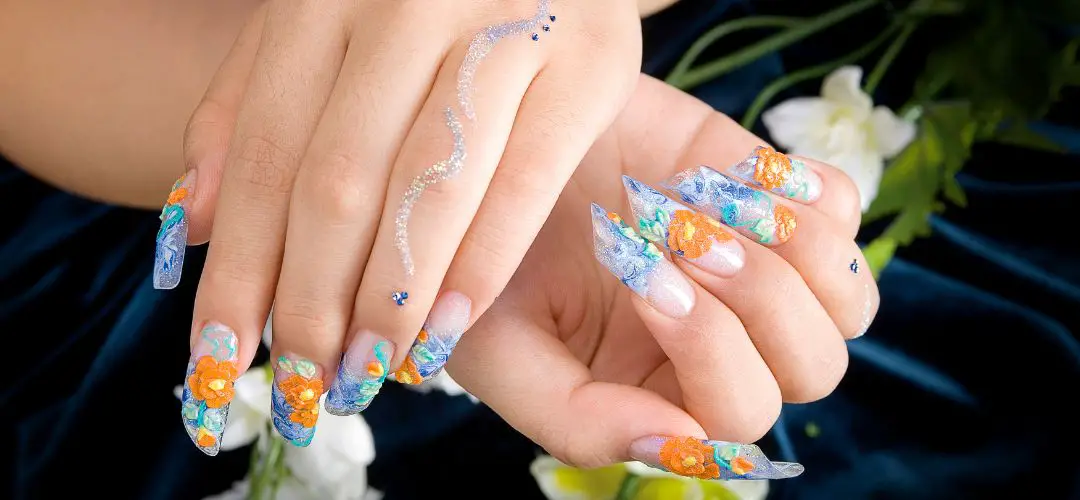
The good news is that sculpted nails are usually much better than regular nails. They can look more natural, because they don’t have the straight lines and angles of traditional manicure. This means that when you look at your hands in a mirror, you won’t see those awkward, pointed edges on the tips of your fingers like you would with a standard nail job.
Sculpted nails also tend to look better when you’re doing physical activities such as sports or working out. With traditional manicures, the nail polish may chip off or fade quickly during any type of activity, while a sculpted nail will stay in place. The extra durability of sculpted nails makes them ideal for people who are active or have busy lifestyles.
Finally, if you want to make your nails look longer than they are naturally, then sculpted nails are the way to go. Because they’re thicker and stronger than regular acrylics, they can give the illusion of length even if you don’t have long nails. You can also customize your sculpted nails with different colors and designs to create a unique look.
Overall, if you’re looking for a more natural and longer lasting manicure, then sculpting is the perfect option. With a nail drill and the right material, it’s easy to get salon-quality results at home! So go ahead – give it a try and show off your creative side! Who knows? You might be the next nail artist sensation!
If you’re new to sculpting, it’s important to take your time and get familiar with both the nail drill and the materials. Invest in good quality supplies from a reputable source, practice on a few nails before doing an entire manicure.
How long does sculptured nails last?
Sculpted nails can last anywhere from two to four weeks, depending on the materials used and how well you take care of them. You can extend the life of your sculpted nails with regular maintenance and proper aftercare.
When properly cared for, a manicure typically lasts between two to three weeks before needing touch-ups or removal. To keep your sculpted nails looking good, properly clean the area around them at least once a week with an alcohol-based solution. This will remove any bacteria or dirt that can build up and weaken the adhesive.
Additionally, you should avoid activities like swimming in pools or hot tubs; soaking your hands in water for extended periods of time; and using household cleaning products. All of these can weaken the adhesive bond and cause the nails to come loose.
When it’s time for a new manicure, you should take off your sculpted nails by using an acetone-based remover or a professional nail drill machine. Do not attempt to pick them off, as this can damage both your natural nail bed and the artificial material.
With proper care and maintenance, your sculpted nails can last for many weeks. However, it’s important to keep in mind that everyone’s nails are different, so the length of time they stay on will vary from person to person. Taking the time to properly care for your manicure will ensure that you get the most out of it and enjoy beautiful results!
What’s better tips or sculptured?
The answer to this question depends on the look you’re going for and your lifestyle. If you want a more subtle look that is still visually appealing, tips might be the better choice for you. Tips are artificial pieces of plastic or acrylic that are glued onto the ends of your natural nails. They provide a slight extension to your existing nail bed and can be painted with any color of nail polish. Tips are also generally more affordable than sculptured nails, and they don’t require as much upkeep or maintenance as other types of manicures.
On the other hand, if you prefer a more glamorous look that will last for several weeks, then opting for sculptured nails might be better for you. Sculptured nails involve using an acrylic or gel powder that is formed into the desired shape. The powder is then cured and hardened with a UV lamp to create a solid form. This type of manicure can provide a stunning, long-lasting finish that looks amazing for an extended period of time.
Ultimately, it comes down to personal preference when deciding between tips or sculptured nails. Tips may be more affordable and require less maintenance, while sculptured nails can provide a more elaborate look that can last for several weeks. For those who are short on time and money but still want to make an impression with their nails, tips may be the better option. But if you’re looking for something that will really stand out and turn heads, then going with sculptured nails is the way to go.

Conclusion | How do I use a nail drill for carving?
This article discusses the use of a nail drill for sculpting nails, highlighting its advantages and disadvantages. Carving with a nail drill is complex and potentially expensive, but with the right practice and caution, it can result in professional-looking nails. The article emphasizes the importance of using quality materials and taking proper care of your equipment to offset the cost, as well as having a good eye for symmetry and design. Additionally, readers are warned to always operate the drill with caution as contact with skin can be painful.